What are Custom Diecast Cars
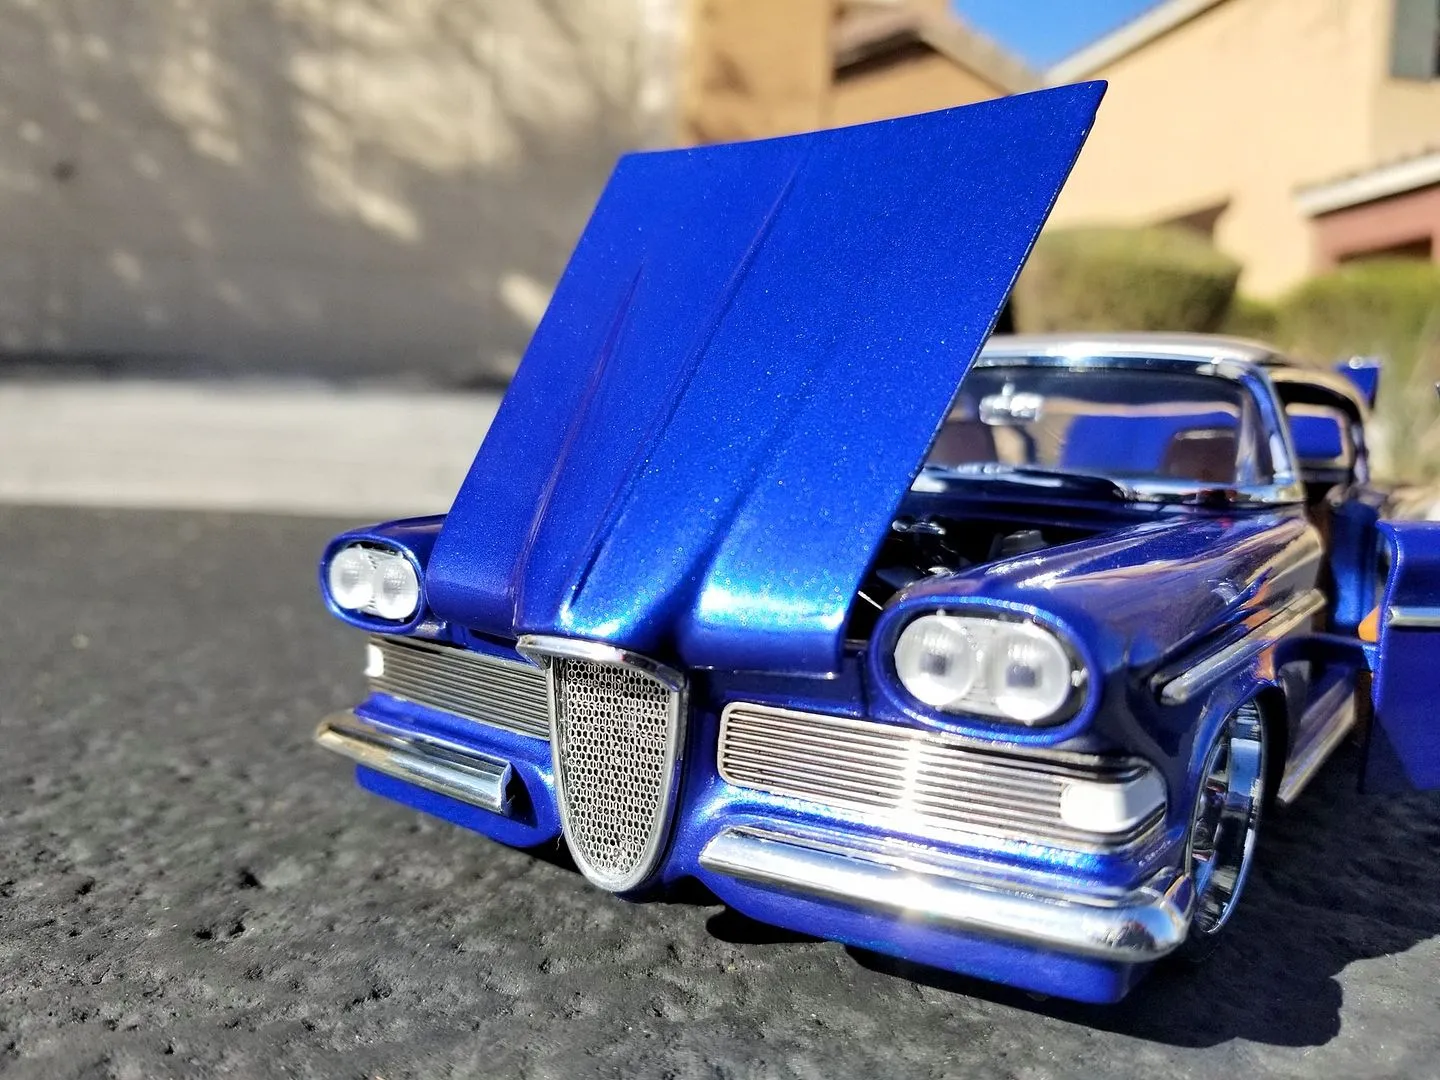
Custom diecast cars represent a fascinating blend of art, engineering, and personal expression. These miniature vehicles, typically scaled models of real-world cars, are modified by enthusiasts to reflect unique designs, specific vehicles, or personal preferences. The process of customizing a diecast car involves taking a commercially available model and altering it through various techniques, from simple paint jobs to intricate modifications, transforming it into a one-of-a-kind creation. The hobby attracts individuals of all ages and backgrounds, united by a passion for cars and a desire to create something unique. Custom diecast cars can range from simple repaints to highly detailed replicas, often showcasing intricate detailing, custom decals, and modified parts. The beauty of this hobby lies in its accessibility and the endless possibilities for creativity.
The Appeal of Custom Diecast Cars
The appeal of customizing diecast cars stems from several factors. Firstly, it offers a creative outlet for individuals who love cars but may not have the resources or space to own and modify full-size vehicles. Customizing diecast cars provides a tangible way to express creativity and build miniature versions of dream cars or unique designs. Secondly, the hobby offers a sense of community. Enthusiasts often share their work online, exchange tips and techniques, and participate in shows and competitions. This community aspect fosters a supportive environment where individuals can learn from each other and showcase their creations. Finally, the affordability of the hobby is a major draw. Compared to building or modifying real cars, customizing diecast cars is a relatively inexpensive pastime, making it accessible to a wider audience.
Types of Customization

Customization options for diecast cars are vast. Simple customizations include repainting the car in a new color, adding custom decals, or modifying the wheels. More advanced customizations involve detailed detailing, such as adding realistic interiors, engine components, or weathering effects to simulate age and use. Some enthusiasts go as far as to completely rebuild the car, replacing parts with custom-made components or even scratch-building entire sections of the model. There’s also the ability to create replicas of specific vehicles, such as movie cars, race cars, or personal vehicles. The scope of customization is only limited by the creator’s imagination and skill level.
Gathering Your Materials
Before you begin your custom diecast car project, gathering the right materials is essential. This ensures a smooth process and a professional-looking finish. Investing in quality tools and materials upfront will not only make the process easier but also improve the final outcome. From the car base itself to the finishing touches, selecting the right components is crucial for realizing your vision. A well-equipped workstation, along with the proper tools and supplies, sets the stage for a successful customization endeavor.
Diecast Car Base
The foundation of your custom creation is the diecast car itself. Start with a commercially available diecast model in the scale you prefer. Common scales include 1:64 (Matchbox, Hot Wheels), 1:43, and 1:18. Consider the model’s design, as this will influence the customization possibilities. Choose a car that excites you or that represents a vehicle you’d like to replicate. Ensure the model is in good condition with minimal damage to the paint or body. Avoid models with excessive factory detailing if you plan on extensive modifications, as this can add extra steps during the preparation stage. The choice of the car base plays a crucial role in determining the final result of your customization project.
Paints and Primers

Selecting the right paint and primer is critical for achieving a professional-looking finish. Acrylic paints are popular because they are easy to work with, dry quickly, and can be thinned with water. Enamel paints offer durability and a glossy finish. Consider using automotive-grade paints for an authentic look. Always use a primer specifically designed for plastics or metals. Primer provides a base for the paint to adhere to, enhances the paint’s durability, and helps even out any surface imperfections. Choose a primer color that complements your chosen paint color. For example, a grey primer works well under light colors, while a black primer is ideal for dark colors. Always apply thin, even coats and allow each coat to dry completely before applying the next.
Detailing Tools
Detailing tools are essential for adding those fine details that set your custom diecast car apart. You will need a set of small paintbrushes, varying in size, for detailed painting of interior elements, trim, and small accents. Fine-tipped paint pens or markers are perfect for adding pin stripes, lettering, and other fine details. Tweezers are useful for handling small parts like decals and photo-etched components. Hobby knives or X-Acto knives are great for cutting and trimming decals, removing flash from parts, and other precision tasks. A magnifying glass can be extremely helpful for seeing intricate details and ensuring accuracy. A cutting mat protects your work surface while you’re using sharp tools, and masking tape is essential for clean paint lines.
Essential Safety Gear
Safety should always be a priority. When working with paints, primers, and solvents, proper ventilation is essential to prevent the inhalation of harmful fumes. Work in a well-ventilated area, or use a respirator designed for painting. Wear safety glasses to protect your eyes from paint splatters and debris. Use gloves to protect your hands from chemicals and to prevent fingerprints on the model. A workbench apron can protect your clothing. Always read and follow the manufacturer’s safety instructions for all products you use. Dispose of used paint, solvents, and other materials properly according to local regulations.
Preparing the Diecast Car

Before applying any paint or modifications, you need to prepare the diecast car. This stage is crucial for achieving a smooth and professional-looking finish. It involves disassembling the car, stripping off the factory paint, and smoothing the surface. Proper preparation ensures that the new paint adheres well and that any details you add will stand out. Rushing this stage can lead to imperfections in the final product, so take your time and be thorough.
Disassembly
Carefully disassemble the diecast car to its individual parts. This typically involves removing the wheels, windows, interior, and any other detachable components. Use small screwdrivers, pliers, and other appropriate tools to gently pry or unscrew parts without damaging them. Take photos of the car before you start disassembling it to serve as a reference for reassembly later. Store the disassembled parts in separate containers or labeled bags to keep them organized. Pay attention to how each part fits together, as this will help during reassembly. Be patient and avoid forcing any parts, as this could lead to breakage.
Stripping the Paint
The existing paint must be removed to prepare the surface for your custom paint job. There are several methods for stripping paint. Chemical paint strippers are effective but can be messy and require careful handling. Follow the manufacturer’s instructions and work in a well-ventilated area. Alternatively, you can use a mild abrasive method like gently sanding the paint off. This is a slower process but offers more control, reducing the risk of damage to the model. Regardless of the method used, ensure you remove all traces of the old paint, leaving a clean metal or plastic surface.
Sanding and Priming

After stripping the paint, use fine-grit sandpaper (e.g., 400-grit or higher) to smooth any imperfections on the surface. Lightly sand the entire body to remove any remaining paint residue and to create a smooth surface for priming. Prime the car using an appropriate primer. Apply thin, even coats, allowing each coat to dry completely before applying the next. This prepares the surface for the paint, promotes adhesion, and helps the paint look professional. A good priming will result in a smooth surface.
Painting Your Custom Diecast Car
Once the car is prepped and primed, it’s time to apply the paint. This stage involves choosing your colors, applying the paint evenly, and adding any decals or details. A well-executed paint job is crucial for achieving a professional and eye-catching result. Patience and attention to detail are essential during the painting process, as this is where your design starts to come to life.
Choosing Your Colors
The color choice for your custom diecast car is a crucial aspect of the design. Consider the overall look you’re aiming for. Will it be a replica of a real car, a custom design, or something unique? Research the vehicle’s original colors if you’re creating a replica. Experiment with different color combinations if you’re designing a custom look. Consider the finish you want to achieve (e.g., glossy, matte, metallic). Choose paints that are compatible with the primer and the materials of the diecast car. Consider using color charts or paint samples to visualize the final result. Consider the contrast between the different colors and their visual impact.
Applying the Paint

Apply the paint in thin, even coats, allowing each coat to dry completely before applying the next. This prevents runs and drips and ensures a smooth finish. Use a spray booth or a well-ventilated area to control overspray and minimize dust contamination. Hold the spray can or airbrush at a consistent distance from the model. Apply light, even strokes, overlapping each stroke slightly. Multiple thin coats are always better than one thick coat. Once the paint has dried completely, inspect the surface for any imperfections. You may need to lightly sand any imperfections and reapply paint to achieve a flawless finish. Ensure proper drying time before moving to the next step.
Applying Decals and Details
Decals and other details add realism and personalization to your custom diecast car. Decals are available from various sources, or you can create your own using decal paper and a printer. Carefully cut out the decals and apply them to the model using water and a decal setting solution. This solution helps the decals conform to the surface and prevents air bubbles. Use a soft cloth or cotton swab to remove any excess water and smooth out the decals. Add details like pin stripes, logos, and other markings using fine-tipped paint pens or markers. Consider using photo-etched parts for realistic details like grilles and emblems. Ensure all detailing is applied evenly and in alignment with your design.
Reassembly and Finishing Touches
After the paint and detailing are complete, it’s time to reassemble the car and add the final finishing touches. This involves putting all the components back together, adding any remaining accessories, and inspecting your work. This stage is crucial for ensuring that your custom diecast car looks polished and professional. Take your time, pay attention to detail, and enjoy the satisfaction of seeing your creation come to life.
Adding Details and Accessories
Adding accessories and details brings your custom diecast car to the next level. Consider adding custom wheels, tires, and brake components. Modify the interior with custom seats, dashboards, and other details. Use photo-etched parts for realistic grilles, emblems, and other details. Weathering techniques, such as washes and dry brushing, can add a touch of realism by simulating dirt, grime, and wear. Add custom license plates or other personalized touches to make your car truly unique. Use a variety of detailing techniques and accessories to create a model that reflects your personal vision.
Final Assembly
Carefully reassemble all the parts of the diecast car, following the reverse order of disassembly. Use the reference photos you took earlier to ensure everything goes back together correctly. Make sure all parts fit snugly and are properly aligned. Double-check all screws and attachments to ensure they are secure. Inspect the finished car for any imperfections, such as paint drips or decal issues. Make any necessary touch-ups or adjustments before displaying your model. Take your time and ensure a perfect reassembly process.
Displaying Your Custom Diecast Car
Once your custom diecast car is complete, it’s time to display it and show off your work. Consider displaying your model in a display case or on a shelf to protect it from dust and damage. Use a clear display case to showcase your creation and allow for viewing from all angles. Arrange your models with other diecast cars or related items. If you have a collection of custom cars, consider creating a themed display. Photograph your custom diecast car to document your work and share it with others. Participate in online forums, share your creations with the custom diecast car community, and enjoy the admiration of your hard work.